Photo credit: FedBul/Shutterstock.com
A fish finder can feel like a mystery box when you first turn it on, but once you know what you’re looking at, it becomes your best buddy on the water. It’s not just about spotting fish—it’s about understanding the whole story beneath you. From bottom structure to bait schools, the screen is packed with useful info. The trick is learning to read the patterns without overthinking it. Here’s how to get the most out of that screen and actually use it to catch more fish.
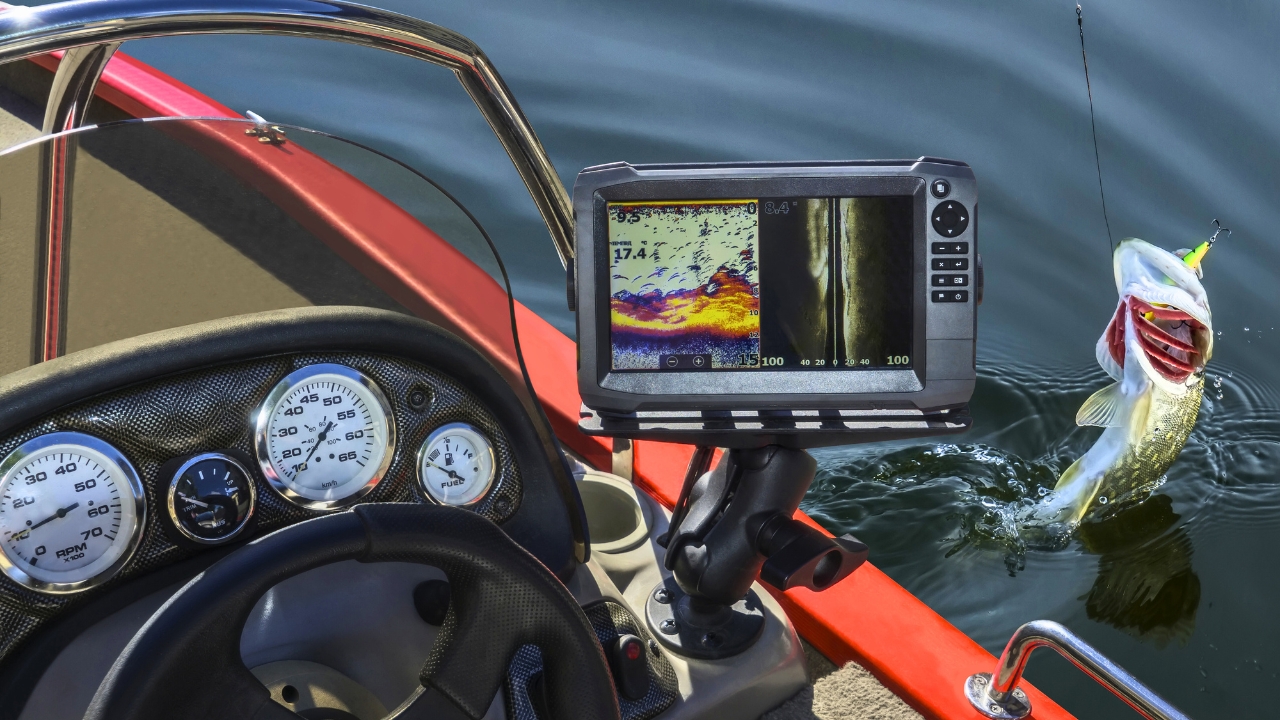
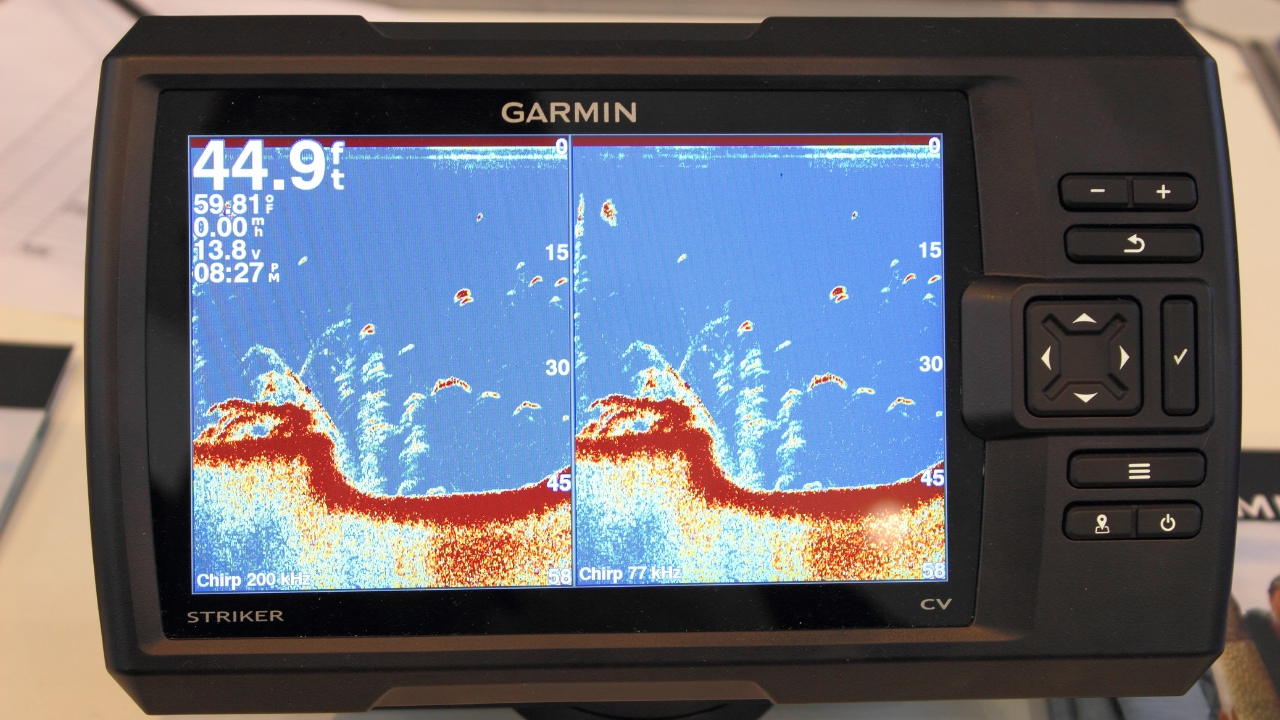
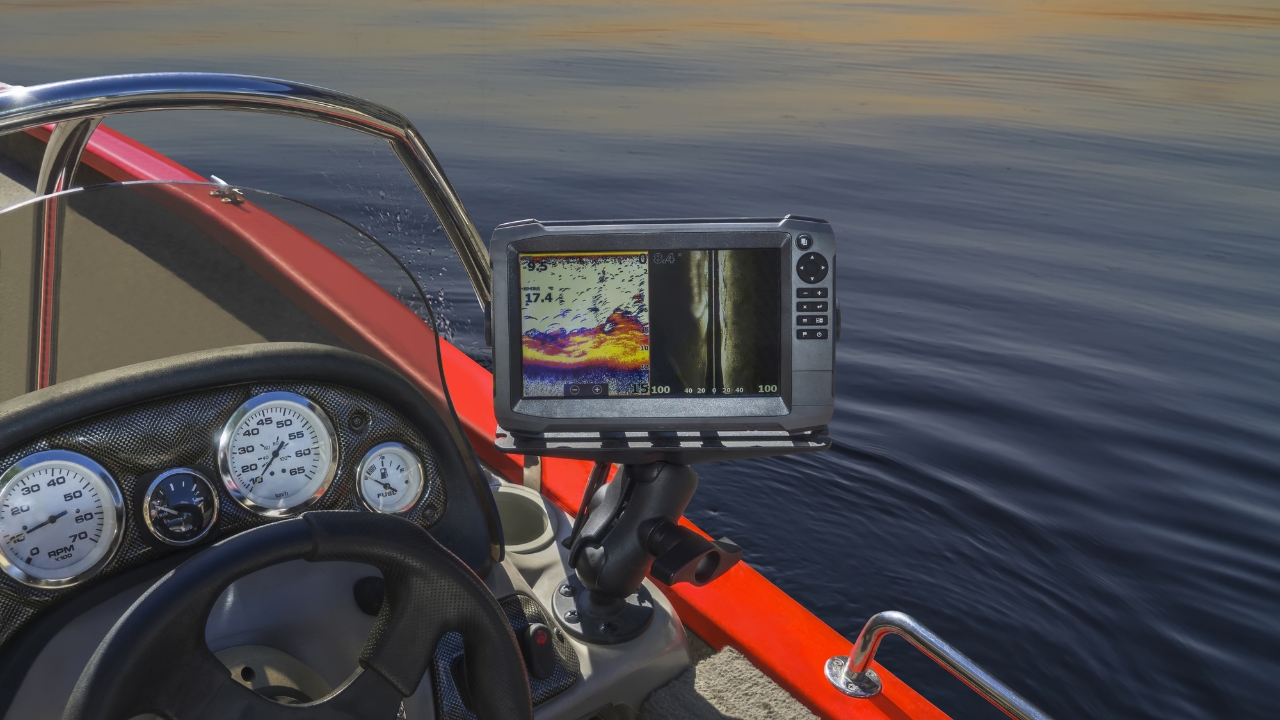
Start with the Basics: Understand the Screen Layout

Don’t skip the manual just yet—every unit has its quirks. But most share a basic layout: water column on the right, history scrolling left. Depth is vertical, with the bottom at the base of the screen. Objects like fish, weeds, or logs show up as blobs, arches, or shadows depending on settings. Once you know where to look and what you’re seeing, the rest gets easier. Don’t get caught up in the colors just yet—focus on learning where fish and structure show up.
Learn What Fish Arches Actually Mean

Everyone talks about “fish arches,” but they’re not always as perfect as the pictures on the box. A full arch usually means the fish passed right through the cone of sonar. A half arch? That fish just skimmed the edge. No arch at all but a blob or dot? Could still be fish, especially if they’re stacked or holding tight to the bottom. Don’t ignore signals just because they don’t look textbook—real fish finder images are rarely perfect.
Pay Attention to Bottom Hardness and Contour
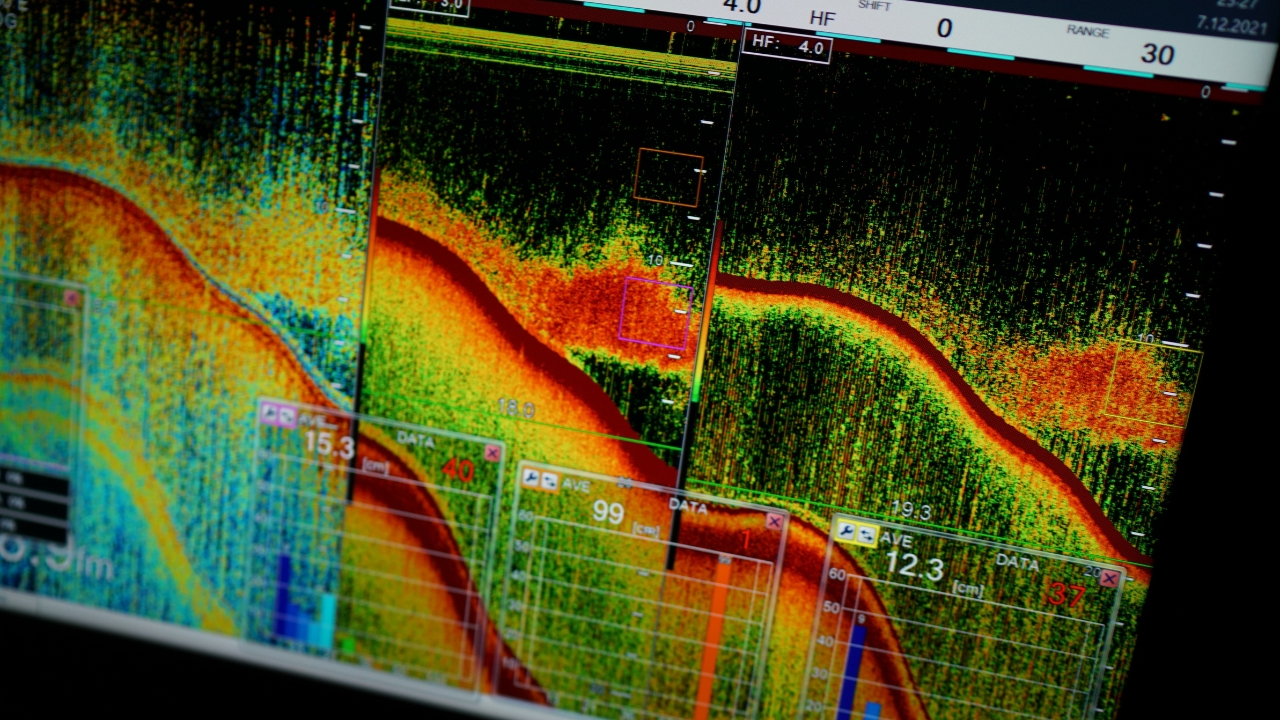
The thickness and brightness of the bottom line can tell you a lot. A thin, faint line might mean soft mud or silt, while a thick, strong return usually means rock or hard bottom. That matters, especially when you’re targeting species like bass or walleye that love transitions. Watch for bumps, drop-offs, or shelves too. These changes in depth often signal ambush zones or travel routes. If the contour’s changing, there’s probably something living around it.
Get Comfortable Adjusting Sensitivity
Leaving your sensitivity on auto might seem easy, but it won’t always give you the best read. Crank it too high and you’ll get clutter; too low and you’ll miss smaller fish or bait. The sweet spot is where the background isn’t too noisy, but you can still see detail—like small returns near the bottom or faint bait balls. Don’t be afraid to tweak it on the fly depending on depth, water clarity, or your target species.
Spot Bait Balls and Follow the Food

Sometimes the fish aren’t the stars of the show—it’s the baitfish you want to track. Bait balls often show up as dense clouds or fuzzy clusters, usually mid-column or near structure. When you find them, odds are something bigger isn’t far off. If the bait is scattered, it could mean predators are already in the mix. Seeing bait is one of the best signs you’re in the right area, even if you don’t spot the big marks right away.
Don’t Overlook Side Imaging
Side imaging gives you a wider look at what’s happening, especially when you’re scanning banks, weedlines, or drop-offs. Instead of just what’s directly under the boat, you’re seeing a whole spread to both sides. Fish show up as small white shadows or dots, and structure like stumps or rocks is much easier to identify. It takes a little time to get the hang of it, but once you do, you’ll spend more time casting where it actually matters.
Recognize Structure Versus Noise
Not everything that shows up on the screen is a fish. Debris, vegetation, and sonar noise can all look confusing if you’re new to it. Logs might show a solid return with a shadow, while weeds often look wispy and less defined. If it’s moving or pulsing, it could be interference. Spend some time over known structure to see how it shows up—that way, you’ll start learning what’s real and what’s just noise or clutter.
Use Zoom to Target Bottom Huggers
Some fish stay close to the bottom and barely show up unless you zoom in. That’s especially true for species like catfish or walleye. Most fish finders let you zoom in on the lower portion of the screen to get a better look. You’ll be able to spot faint returns that might otherwise blend into the bottom line. It’s an underrated tool when fish are holding tight in deeper water or hiding out on structure.
Watch for Fish Behavior in Real Time
When you see a mark rise up off the bottom and follow your lure on the screen, that’s gold. Not only are you on fish—you’re watching them react. Pay attention to how marks move when you jig or change speed. If you see fish rising and dropping fast, they might be in feeding mode. If they just sit there, maybe switch tactics. A fish finder isn’t just for spotting—it’s also a way to read the mood underwater.
Log What Works and Revisit Productive Spots

One of the best ways to get better with your fish finder is to take notes. Whether it’s on the unit or in a notebook, track where you were, what you saw, and what worked. Many fish finders let you mark waypoints, which makes returning to productive spots a breeze. Over time, you’ll build up a mental map of your waters and start recognizing patterns. Trust what you’re seeing—but back it up with what you’ve learned.
*This article was developed with AI-powered tools and has been carefully reviewed by our editors.