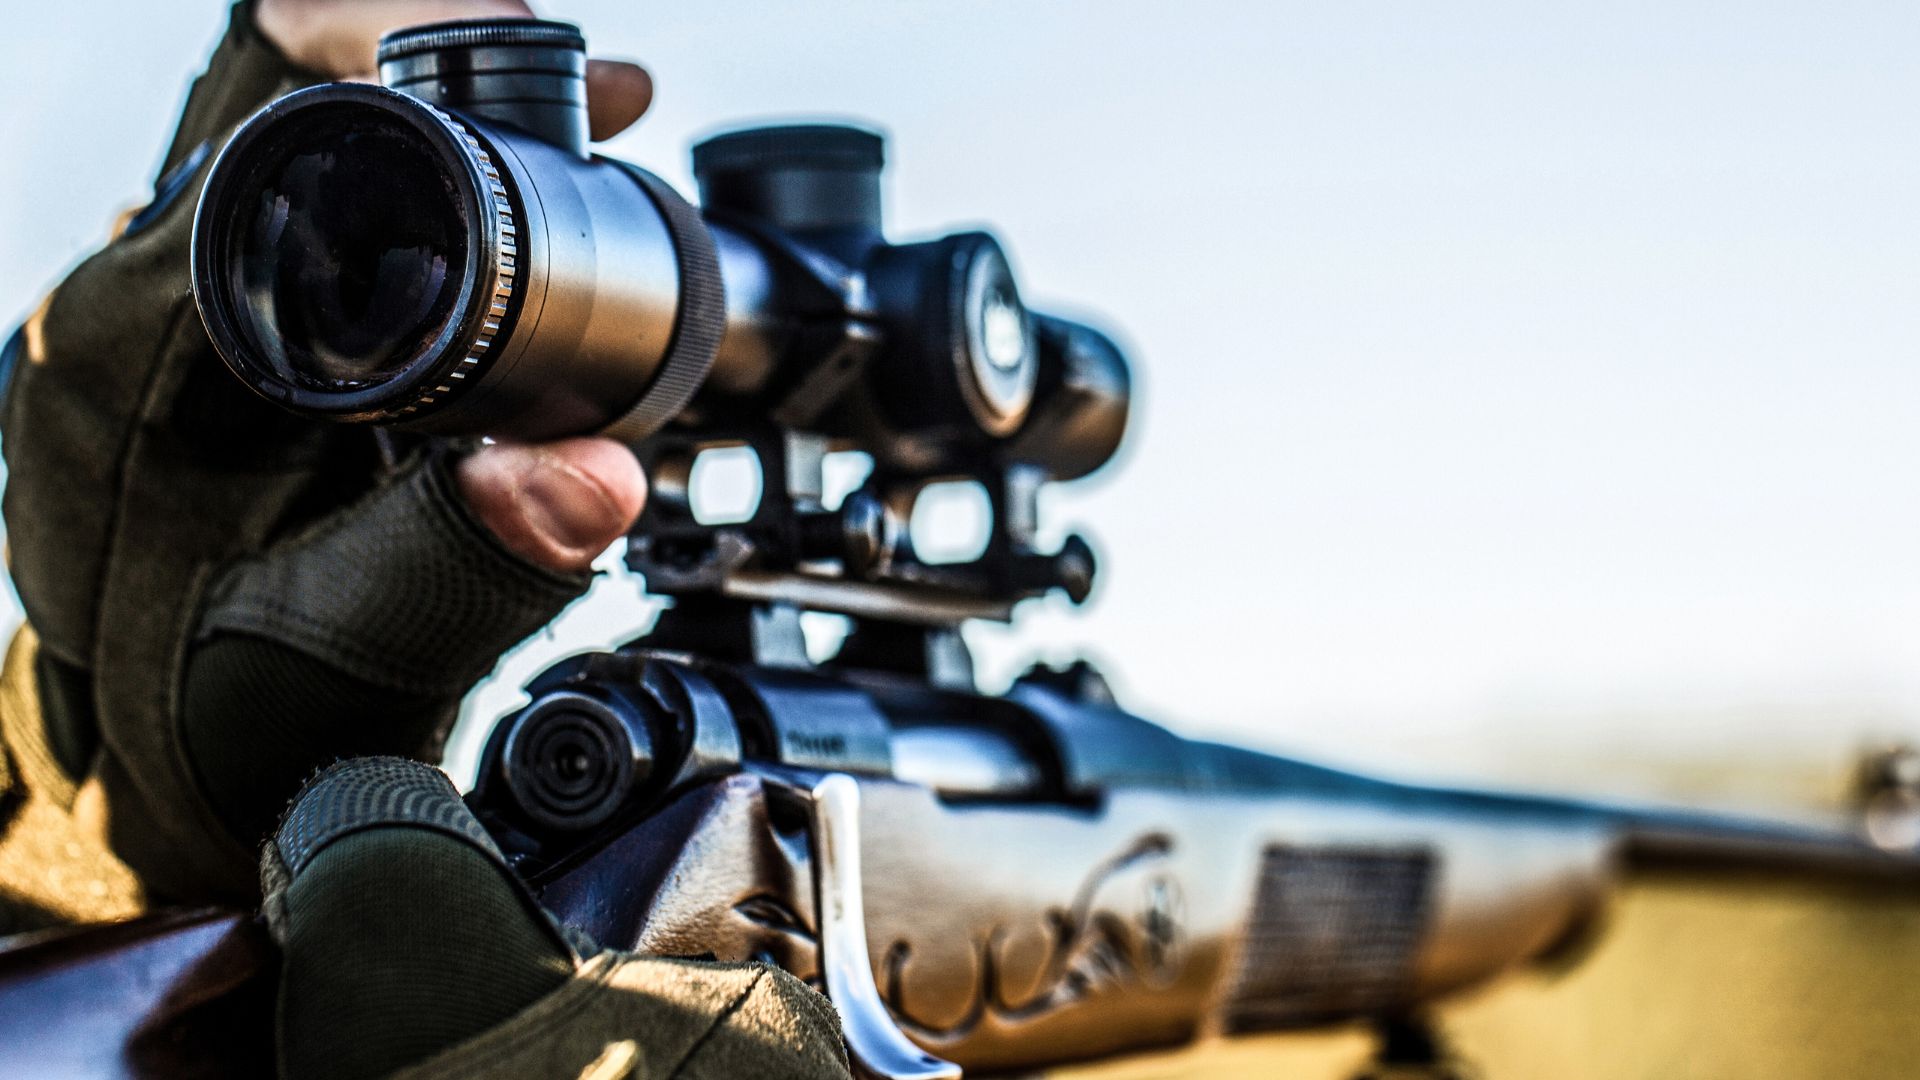
Photo credit: Body Stock/Shutterstock.com
We may earn revenue from products featured on this page through affiliate links.
Most scope problems aren’t “bad glass.” They’re people guessing. Guessing what the numbers mean, guessing what the turrets do, guessing where the scope should sit, guessing how tight to crank the rings, then acting shocked when the rifle starts throwing flyers or the zero walks around after a few boxes of ammo. A riflescope is simple once you know what each part is supposed to do, and it gets a lot less intimidating when you stop treating it like a magic tube. The goal of this article is to give you a clear mental model so you can set up a scope, zero it, and make basic adjustments without turning range day into a troubleshooting session.
What the numbers on the scope actually mean
The most common hunting scope format looks like “3–9×40.” The first part (3–9x) is magnification range, meaning the scope can zoom from 3 power to 9 power. The second part (40) is the objective lens diameter in millimeters, which matters mostly for light gathering and exit pupil, but it’s not a free “brighter” button by itself. Bigger objective lenses can help, but coatings, design, and your own eye matter too, and a giant objective doesn’t fix a cheap scope or poor mounting. This is also where people get tripped up on “MOA vs MIL,” because those terms show up on turrets and reticles. Leupold lays it out plainly: your adjustment system is typically MOA (minute of angle) or MIL (milliradians), and you want your reticle and turrets to match so your holds and your dialing speak the same language.
Magnification isn’t “more is better,” it’s “more is narrower and shakier”
Cranking a scope to max power makes the target look closer, but it also narrows your field of view and makes wobble feel worse because you’re zooming in on every little movement. That’s why a lot of experienced hunters live somewhere in the middle and only crank up when they’re on a steady rest and the shot calls for it. At 3x you pick up targets faster and track movement better. At 9x you can aim more precisely on small targets, but you pay for it with speed and steadiness. If you’ve ever “lost” a deer in the scope at close range, that’s usually magnification and field of view working against you, not you suddenly forgetting how to hunt.
Eye relief and the eyebox are the difference between fun and getting kissed by a scope
Eye relief is the distance your eye needs to be from the scope to see a full, clear picture. The “eyebox” is how forgiving that position is when your head shifts a little. People don’t think about either one until they’re shooting something with real recoil, then they discover why scope bite is a classic lesson. The practical setup rule is: mount the scope so you get a full sight picture in the positions you’ll actually shoot from (standing, kneeling, prone, off sticks), not just from a bench where you can crawl the stock and make anything work. If your scope is too far forward or too far back, you’ll fight a shadow ring around the image, and under recoil you’ll start lifting your head or tensing up, which wrecks follow-through and accuracy fast.
Reticles and focal plane: stop buying features you won’t use
Reticles are where “basic hunting scope” and “dial-and-hold scope” split. A simple duplex reticle works fine for most hunting inside typical distances, because it’s fast and uncluttered. Once you start using hash marks for holds and ranging, focal plane matters. Leupold explains it in plain terms: front/first focal plane reticles scale with magnification so the subtensions stay true at any power, which is useful for holdovers and wind holds across magnification changes. Vortex says the same concept on their first focal plane product pages: the reticle stays in proportion to the zoomed image so the hold values remain accurate at all magnifications. The simple takeaway is this: if you plan to use the hash marks seriously, FFP can make sense; if you’re mostly hunting and you want a consistent reticle thickness at low power, SFP is often simpler and easier to live with.
Turrets: what they do, and what they don’t
Turrets are just mechanical adjusters that move your point of impact by changing the reticle’s relationship to the scope’s internals. You typically get an elevation turret (up/down) and a windage turret (left/right). The mistake is thinking turrets are a shortcut for fundamentals. Dialing does not fix a bad position, a sloppy trigger press, or a rifle that doesn’t group. What turrets do help with is repeatability: if you know your rifle’s dope and your scope tracks correctly, you can dial a correction instead of holding off. This is also where matching systems matters again: MOA turrets pair cleanly with MOA reticles, MIL with MIL, because you’re not translating in your head under pressure. Leupold’s breakdown of turret markings and MOA vs MIL is a good “read it once and it clicks” explanation.
Parallax: the thing people argue about until they miss
Parallax is easiest explained like this: if the reticle seems to “float” on the target when you move your head slightly, parallax error can shift your point of aim. Outdoorsmans describes the goal of parallax correction as getting the reticle and target image on the same focal plane, which reduces apparent reticle movement and helps prevent aiming error and eye strain. On most basic hunting scopes, parallax is fixed (often set around 100–150 yards), so you don’t touch it. On many higher magnification scopes you’ll have a side focus knob or objective adjustment so you can dial parallax out at different distances. The practical rule is simple: if your scope has parallax adjustment, use it when you’re shooting at distance or at high magnification where tiny aiming errors matter more, and don’t confuse “image looks sharp” with “parallax is corrected,” because they’re related but not the same thing.
Mounting and torque: most people crank way too hard
Mounting is where good scopes get blamed for bad work. There’s a reason serious shooters own a torque driver: over-tightening rings and base screws can strip threads, snap screws, and distort scope tubes. An NRA publication on common optics-mounting errors flat-out warns that overtightening is one of the biggest mistakes, and it lists surprisingly low torque values as typical guidelines for ring and base screws in many setups. That’s why a tool like the Wheeler F.A.T. Wrench exists in the first place: repeatable inch-pound torque so you’re not guessing with “two grunts and a prayer.” Bass Pro’s listing for the Wheeler F.A.T. Wrench with 10-bit set calls out a 10–65 in-lb range, which covers the common scope-mounting jobs most hunters actually do at home.
A simple scope setup that works for most hunting rifles
If you want a basic setup that’s hard to mess up, start with a normal hunting magnification range and a proven, uncomplicated optic. A scope like the Vortex Optics Crossfire II 3–9×40 is popular for a reason: it’s a familiar range, it’s easy to run, and it’s built around the kind of use most hunters do all season, not once a year on a bench. Bass Pro’s product description highlights features like forgiving eye relief and a fast-focus eyepiece, which are exactly the “real-world” traits that keep a scope from being annoying in the field. From there, set eye relief for your shooting position, level the reticle, torque the screws correctly, and then zero with a plan: bore sight to get on paper, shoot a tight group, adjust, confirm, and stop chasing single shots. If you adjust based on one round, you’ll be “zeroing” all day and still walk away unsure.
Like The Avid Outdoorsman’s content? Be sure to follow us.
Here’s more from us: